So you must have heard about the Office Delve launch recently. I have been trying out my hands at the Office Graph which powers Delve and the Graph Query Language which can be used to get data from the Office Graph. To get a comprehensive idea of how it all works, follow these links:
Developing Apps against the Office Graph - Part 1
http://blogs.msdn.com/b/richard_dizeregas_blog/archive/2014/09/15/developing-apps-against-the-office-graph.aspx
Developing Apps against the Office Graph – Part 2
http://blogs.msdn.com/b/richard_dizeregas_blog/archive/2014/09/17/developing-apps-against-the-office-graph-part-2.aspx
Using Graph Query Language (GQL) with the SharePoint Online Search REST API to query Office graph:
http://msdn.microsoft.com/en-us/library/office/dn783218(v=office.15).aspx
So basically we can say that the Graph Query Language can be used to filter normal search queries to return content which is highly relevant to the user. I think the most important thing about the GQL is the EdgeWeight property which can be used to return content sorted by it's "closeness" to the user. This 'magic' property will also return a relevance score of how close the object (content) is to the actor (user).
For example, if I make a query to get all the people with whom the current user closely works with, the person who will have the highest relevance score will be the person with whom the current user works with most closely. The next person will have a slightly lesser relevance score and so on. This will also be true for other queries such as documents which are most relevant to the current user. This data can be very useful and can be used in a variety of scenarios.
Here is an example of a query to get the users with whom the current user works closely. I have modified the code from Richard diZerega's blog which is linked above.
Sunday 21 September 2014
Saturday 13 September 2014
Deploy Workflows to Host Web with Integrated Workflow Apps
Update (19/08/2015): Integrated Workflow Apps are now part of Visual Studio 2015. You do not need to manually edit any XML files now. You will just need to:
1) Use Visual Studio 2015 (I was using the Enterprise version)
2) Create a SharePoint App (Add-In as it's now called)
3) Add a Workflow to your Add-In Project. (Your Add-In cannot be an Integrated Workflow Add-In unless there is a Workflow in it)
4) Go to the Project Properties and set the "Integrated App" property to True. That's it!

Original Article:
In the recent Office 365 Developer YamJam on the Office 365 Technical Network, there were lots of great questions asked to and answered by the Office 365 Engineering Team. You can view all the questions over here: https://www.yammer.com/itpronetwork/#/threads/inGroup?type=in_group&feedId=4419638
One thing which I was interested in was the Integrated Workflow Apps. I have seen a lot of people ask about this as they want to deploy Workflows to their Host Web (or Content Site) from their Apps. I had known that something was in the pipeline as I had seen a glimpse of it in this video from SPC 2014 http://channel9.msdn.com/Events/SharePoint-Conference/2014/SPC3994
Luckily, Tim McConnell who is the speaker in the video was part of the YamJam and he answered that Integrated Workflow Apps are already available on SharePoint Online but they are waiting for tooling support so no official announcement has been made till now.
I have tested them on my development Office 365 Tenant and it works! In this post, I will be detailing the process by which you can get it working too.
You will need to have installed Visual Studio 2013 and Microsoft Office Developer Tools for Visual Studio 2013 for this. My test project is available on GitHub here: https://github.com/vman/Integrated-Workflow-Apps
1) Start Visual Studio 2013 > New Project > App for SharePoint
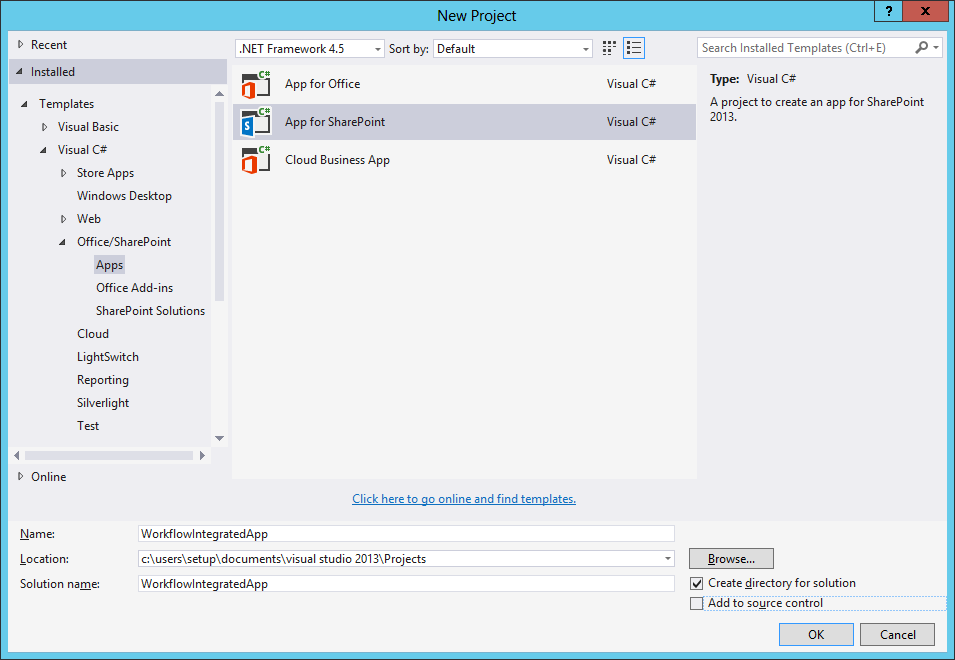
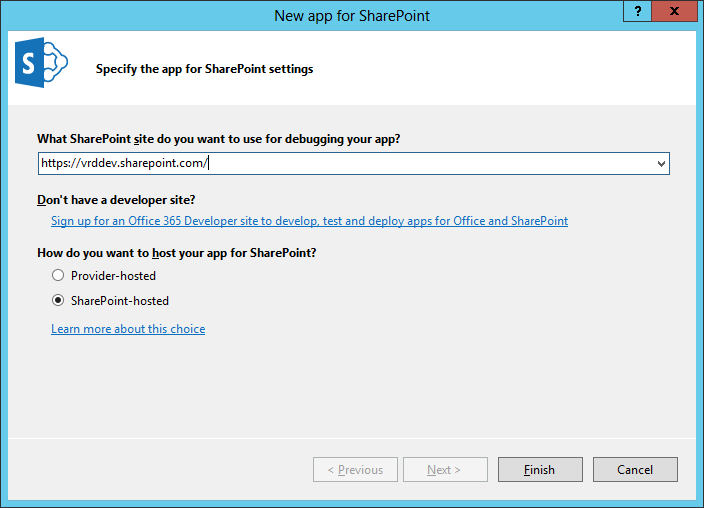
2) Enter the SharePoint Online Site Url and select the hosting model for your app. I have selected SharePoint Hosted.
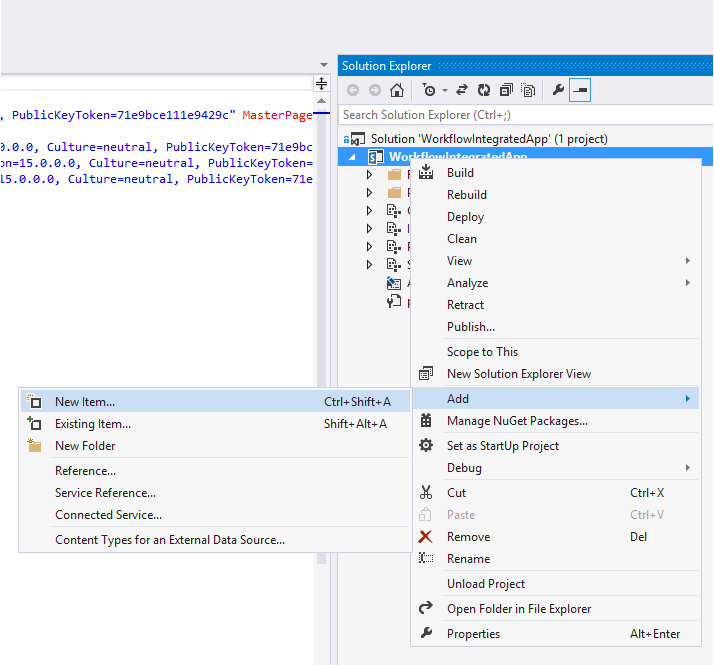
3) Right Click App Project > Add > New Item
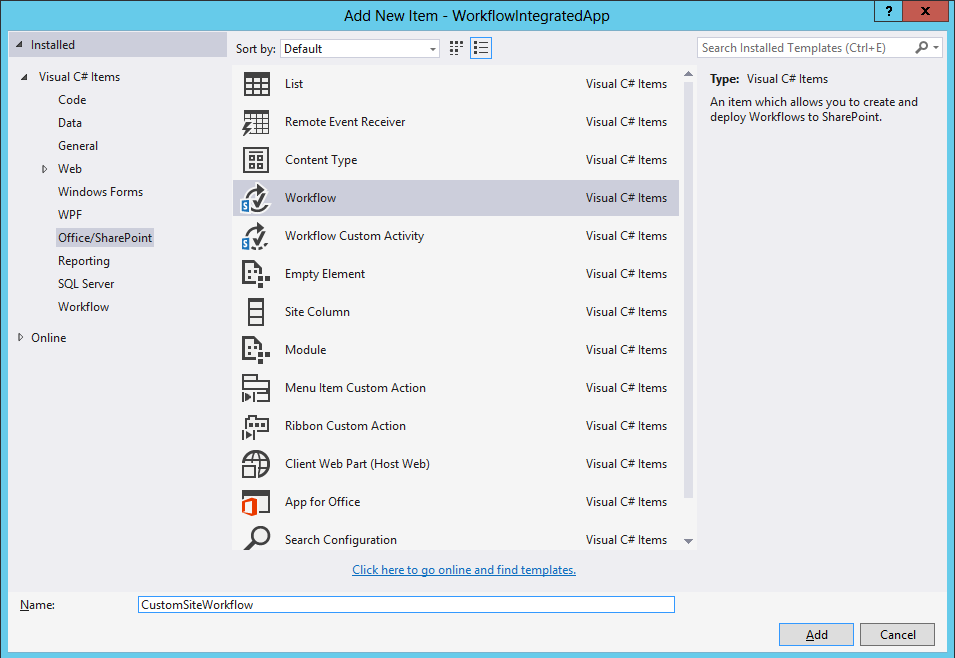
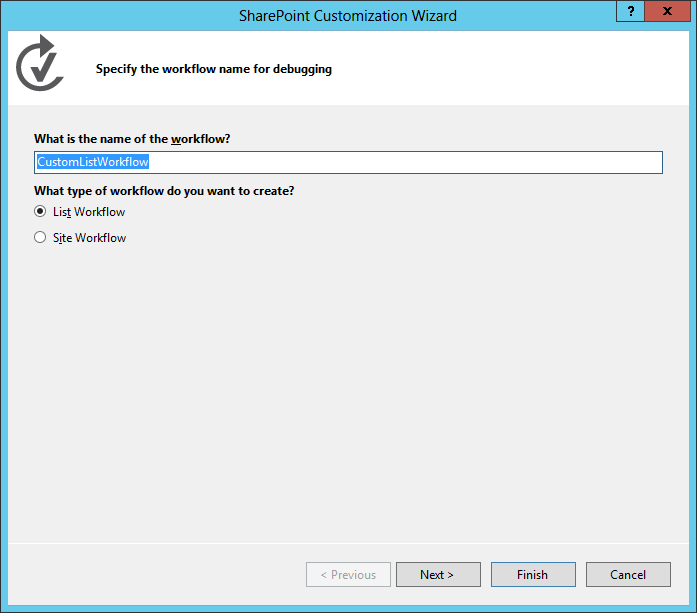
4) Select Workflow and type in a name for your Workflow
(Click on the Image to Zoom)
5) Select the type of Workflow as Site Workflow
(List Workflow Deployment is shown at the end of the post)

6) Select "Create New" for History List and Task List.

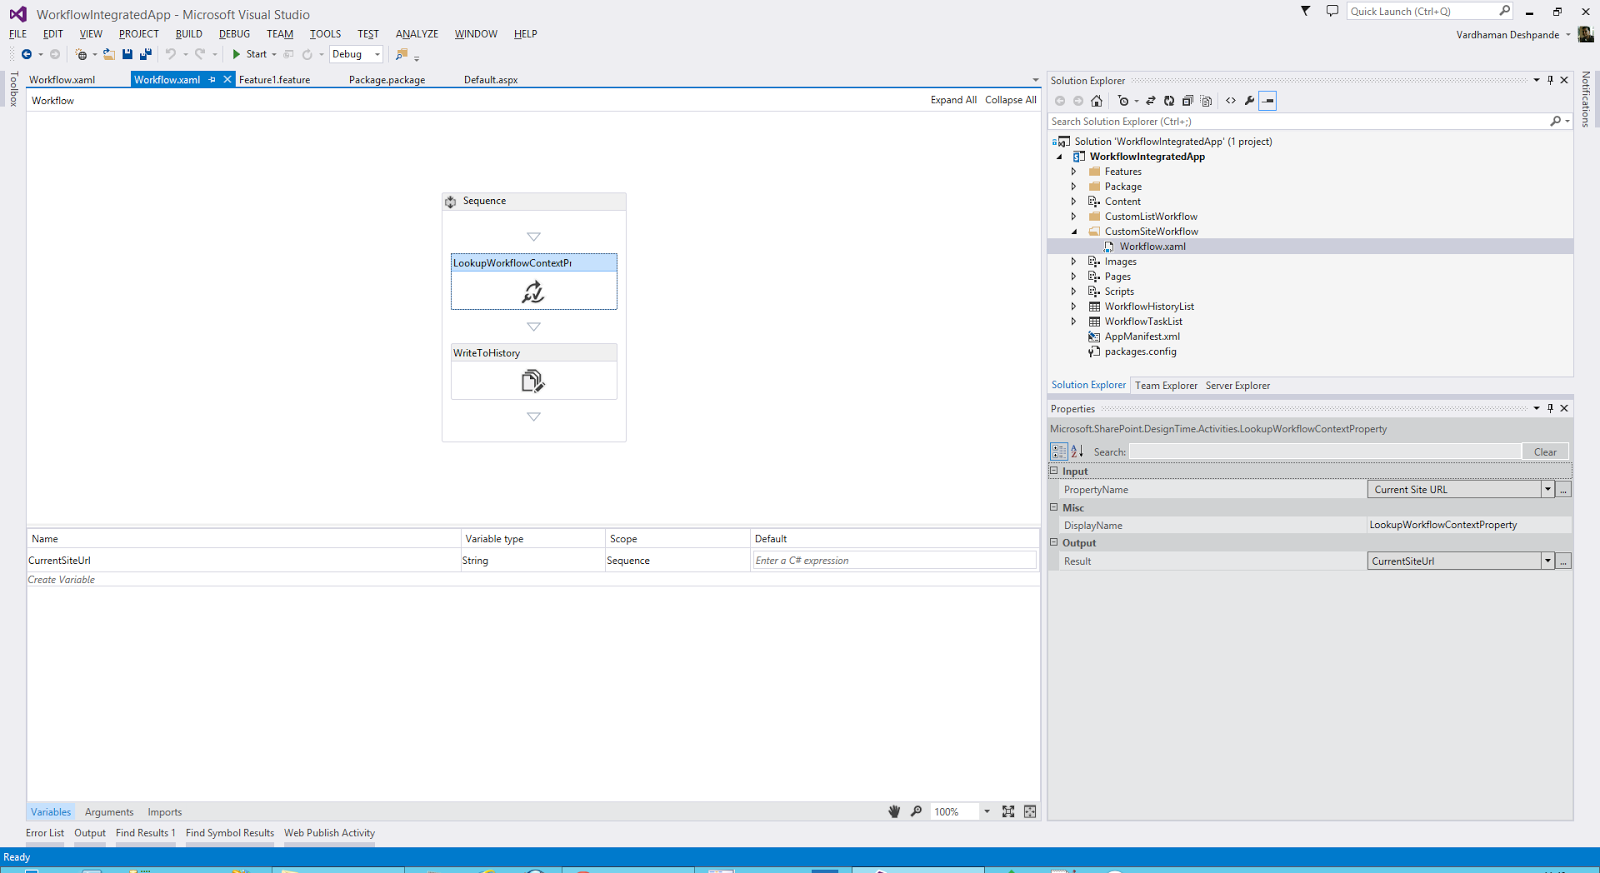
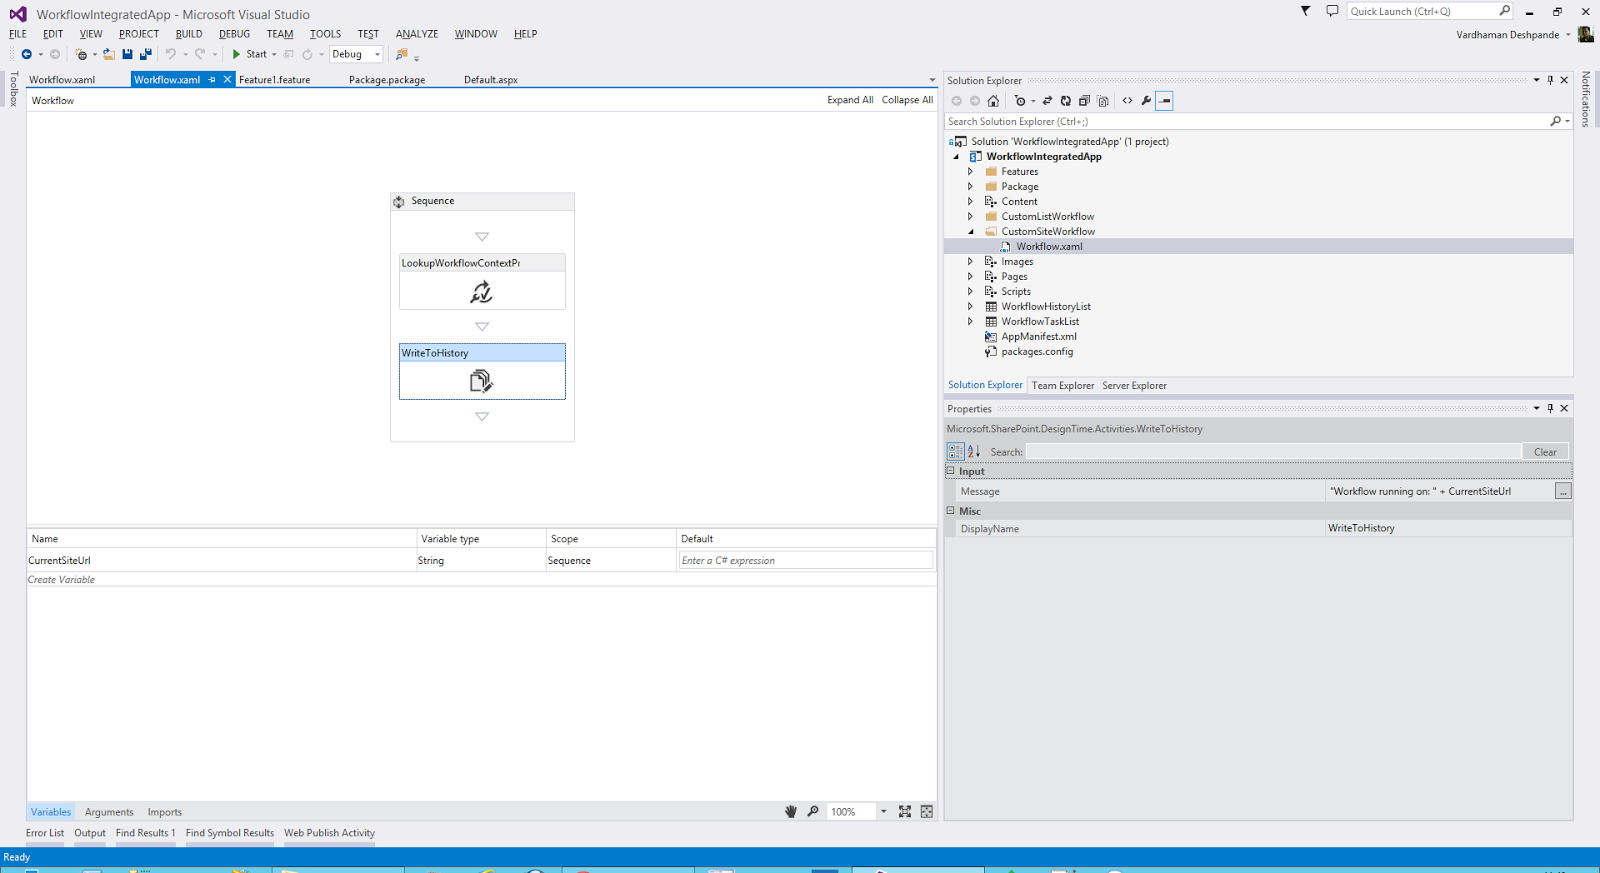
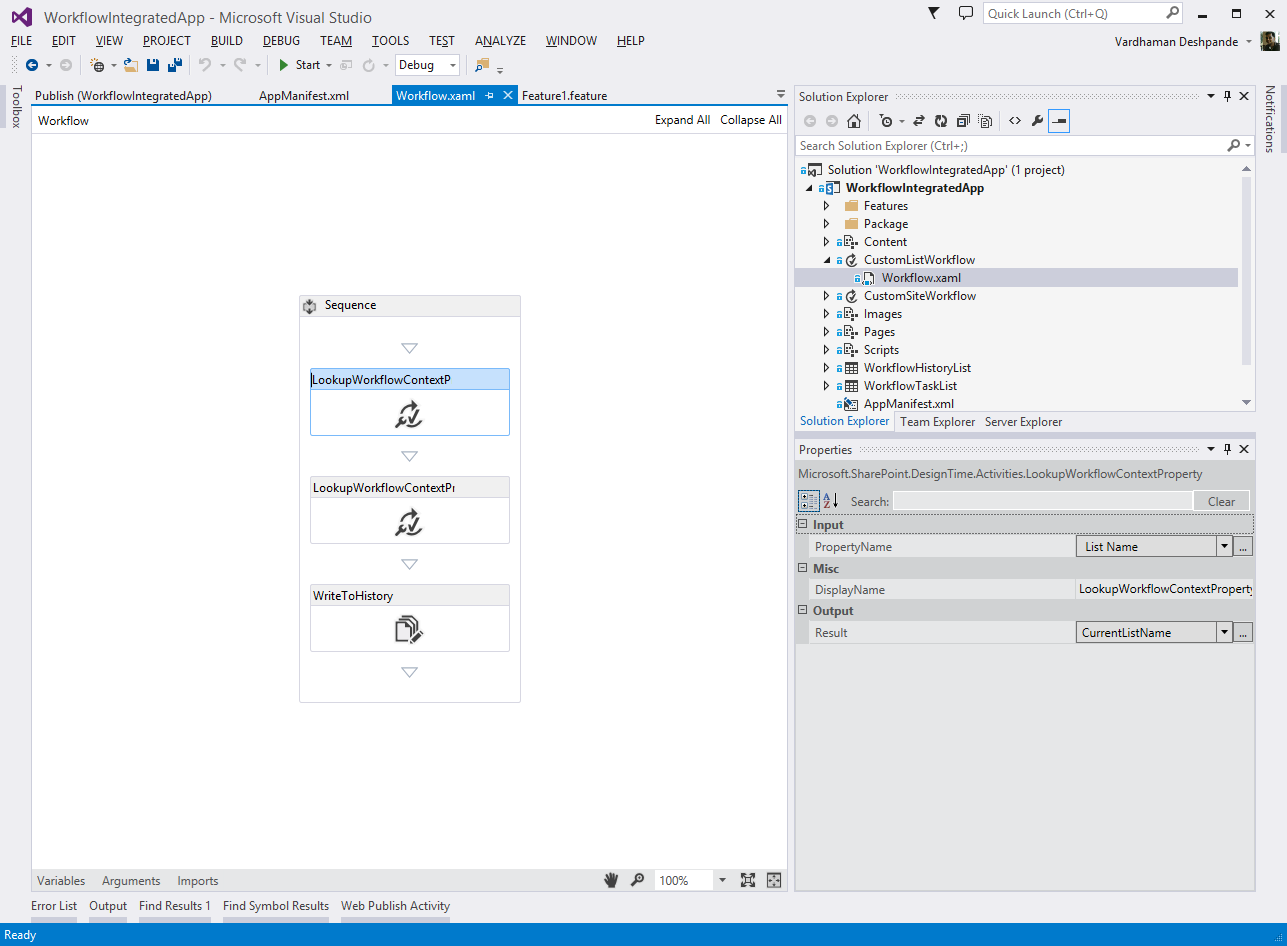
7) Add some sample activities to your Workflow.
I have added a LookupWorkflowContextProperty to get the current Site Url and a WriteToHistory activity which will write the Current Site Url to the History List
(Click on the Image to Zoom)
(Click on the Image to Zoom)
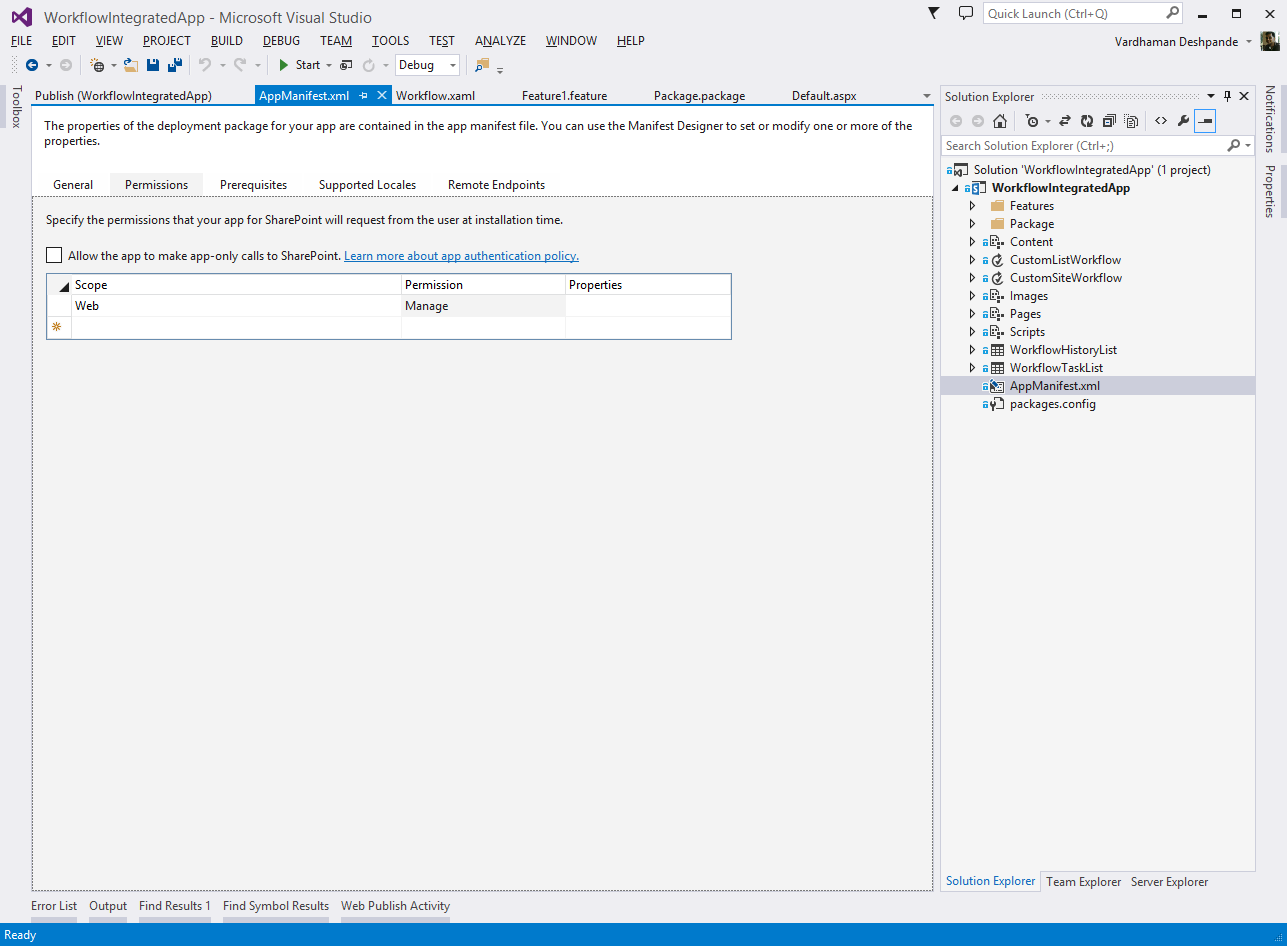
8) Give your App Manage Permissions on the Web:
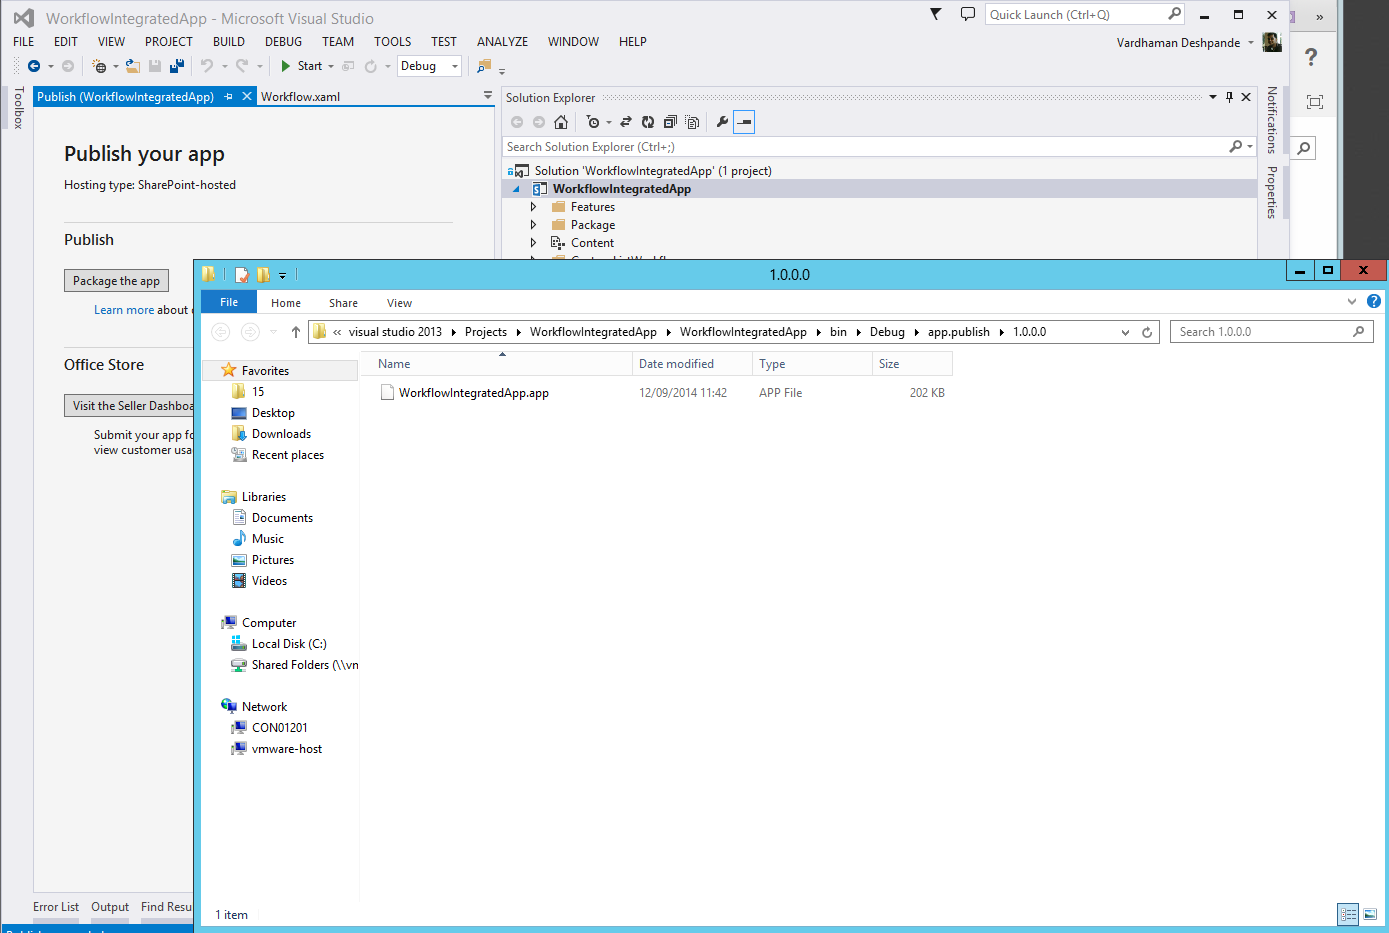
9) Right click App Project > Publish > Package the app. A window will pop up showing you the packaged .app file.
(Click on the Image to Zoom)
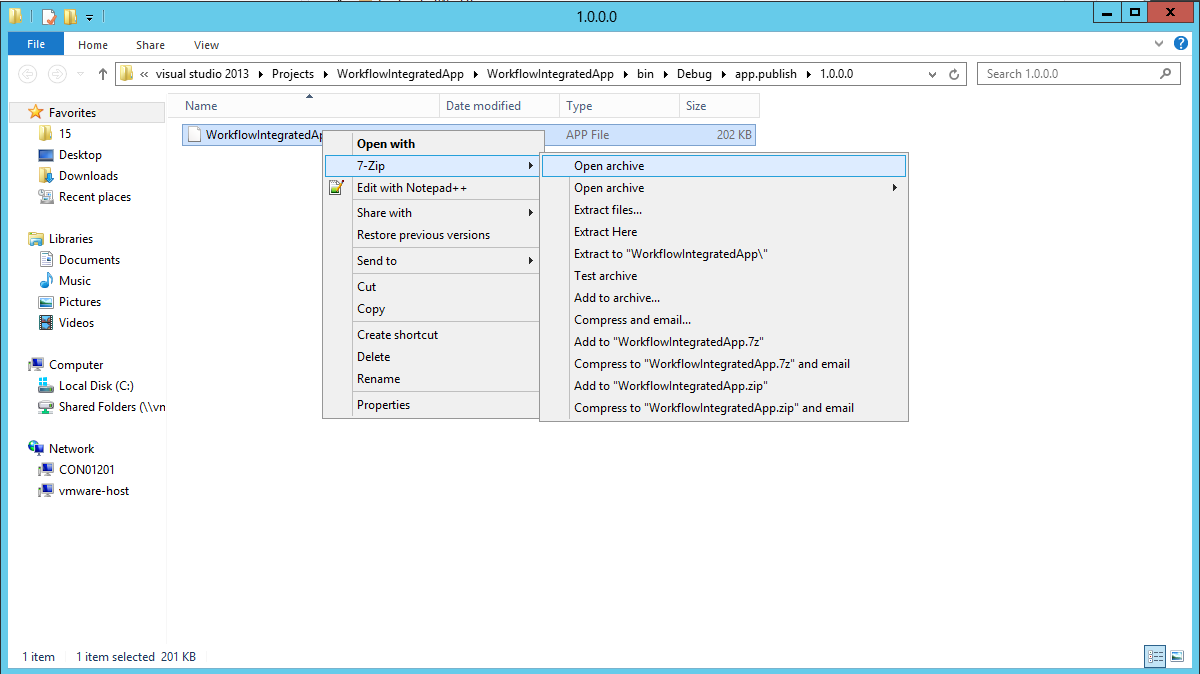
10) Now the interesting part. Open the .app file as an archive with a tool of your choice.
I have used 7-Zip which is a really awesome tool. You can download it from here: http://www.7-zip.org/
(Click on the Image to Zoom)
11) Once opened, look for the WorkflowManifest.xml file and open it. It will be empty to start with. Copy the following in the file and save it.
(Click on the Image to Zoom)

12) After Clicking save, you will get the following prompt. Click Ok.

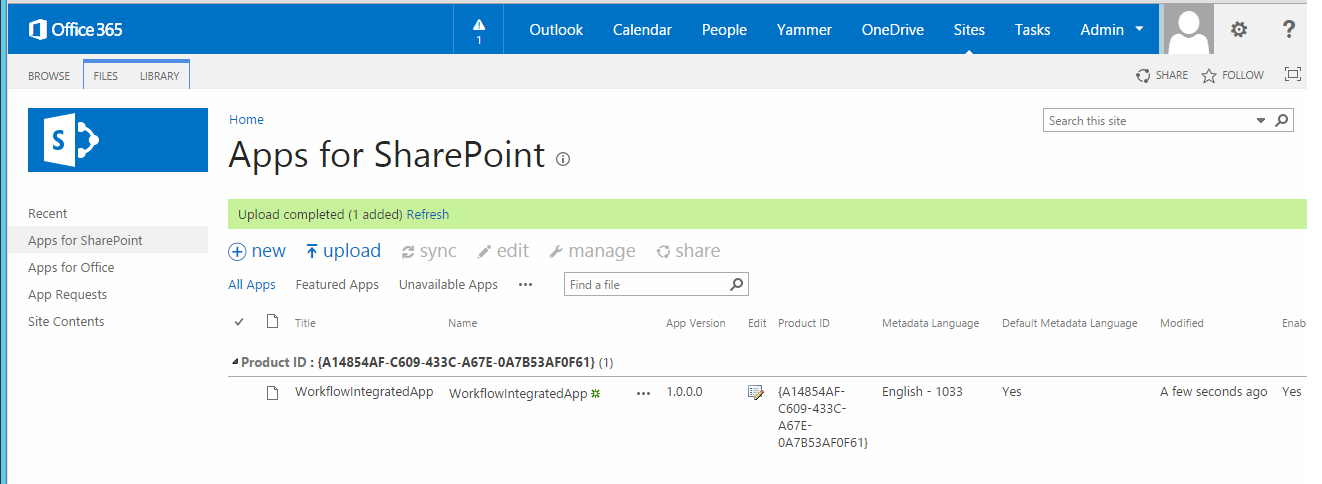
13) Now your .app package is ready to be deployed to your App Catalog. Go to your App Catalog and upload the .app file in the "Apps for SharePoint" document library.
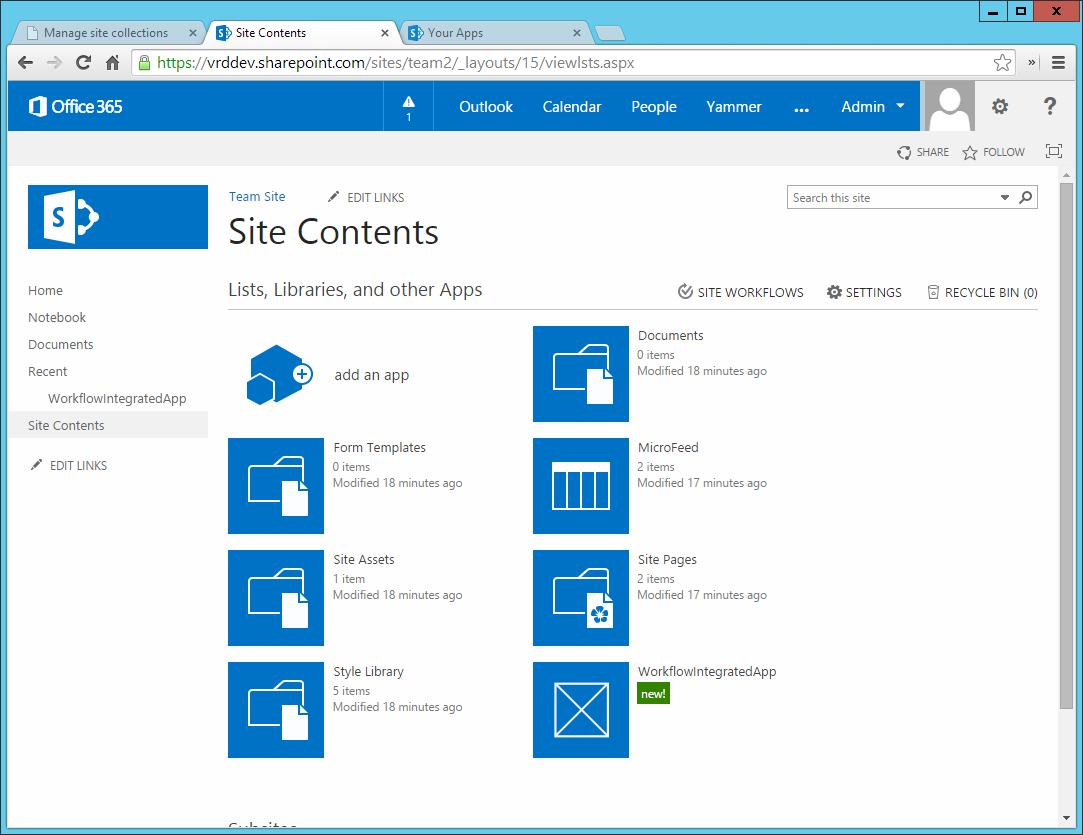
14) Once uploaded, go to your Team Site > Site Contents > Add an App > Select your app and add it to your Team Site.

15) You will be prompted to trust your App. Click on "Trust It".

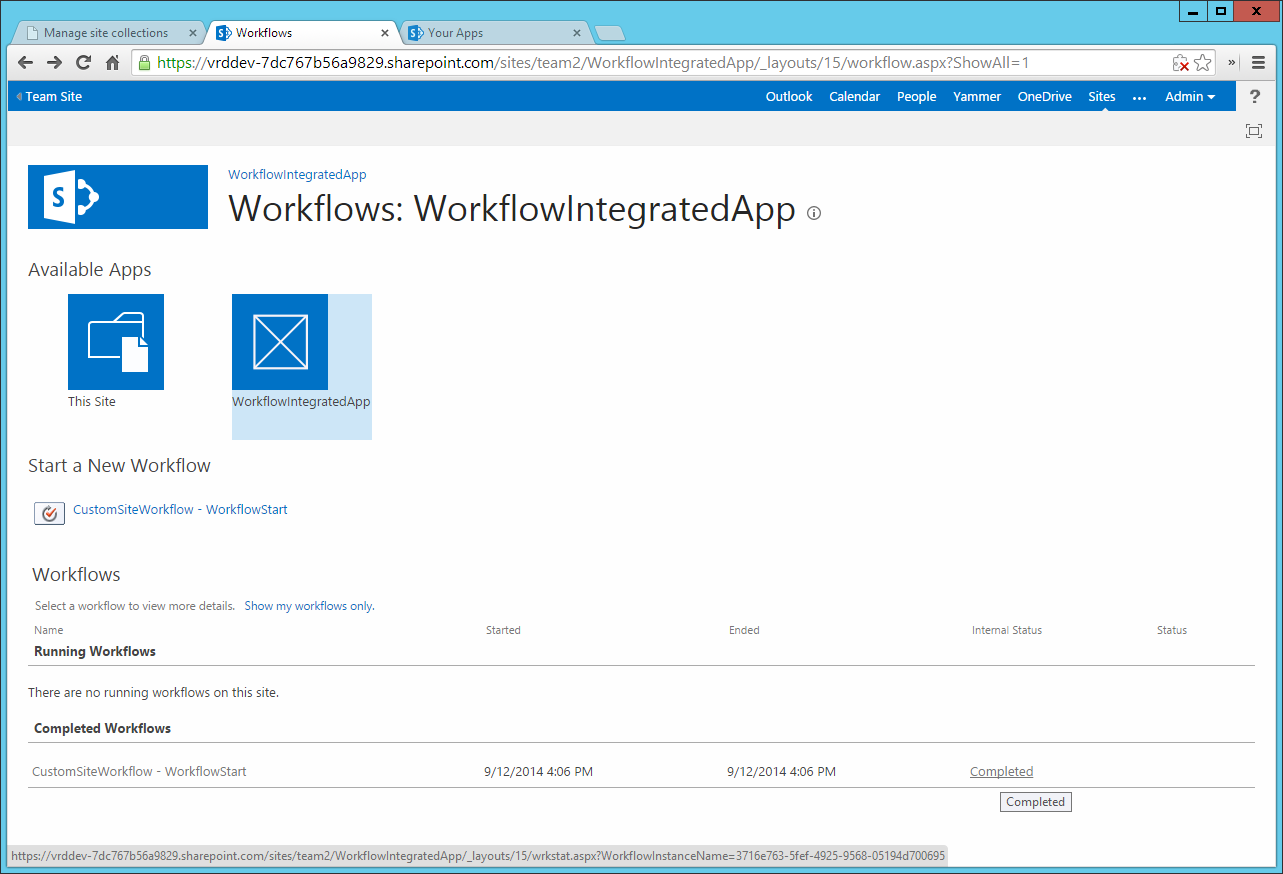
16) Once the App is installed on your site, go to Site Contents > Site Workflows
17) Click on your App to see your Site Workflow deployed on the site. Click on the Workflow to start it.
(Click on the Image to Zoom)

18) Let the workflow complete. After it has completed, click on the Internal Status to see what the workflow logged to the History List
(Click on the Image to Zoom)
19) You can see that the Workflow logged the url of the Team Site on which it was running.
(Click on the Image to Zoom)
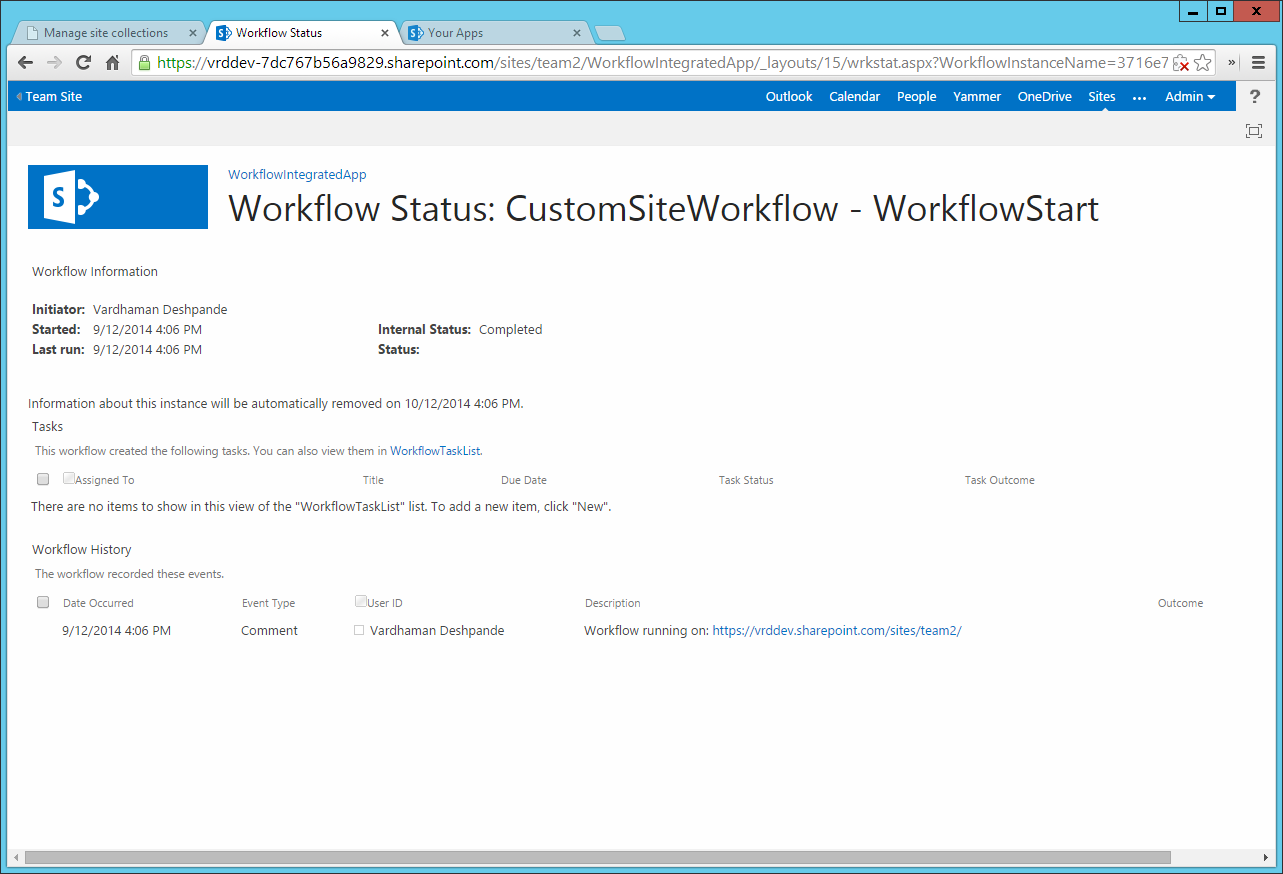
This proves that the Workflow was deployed to and ran on the Host Web (Content Site).
Deploy List Workflow:
The process to deploy the list workflow is quite the same except in step 5, select List Workflow.
Do not associate your workflow to any List. We will do the association after the deployment of the Workflow.

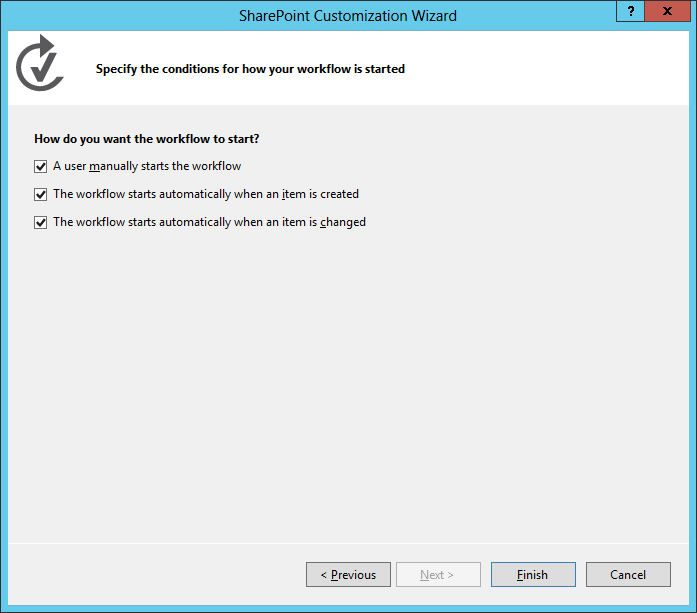
Select when you want your workflow to start.
Add a Sample Workflow Activity in the Workflow to Log the Current List Name and the Current Item Url:
Steps 8 to 15 are the same as for a Site Workflow. After the Workflow is deployed, Go to a list > List Settings > Workflow Settings > Add a Workflow

Click on your App, Associate your Custom Workflow by giving it a name and configuring other settings. Click on OK.

After you associate the Workflow, Start it either manually, or create an item, or update an item depending on the method you selected in the Workflow Designer in the App.

After the Workflow Completes, Click on the Internal Status to see what the Workflow Logged to the History List:

Subscribe to:
Posts (Atom)