Wednesday, 23 November 2022
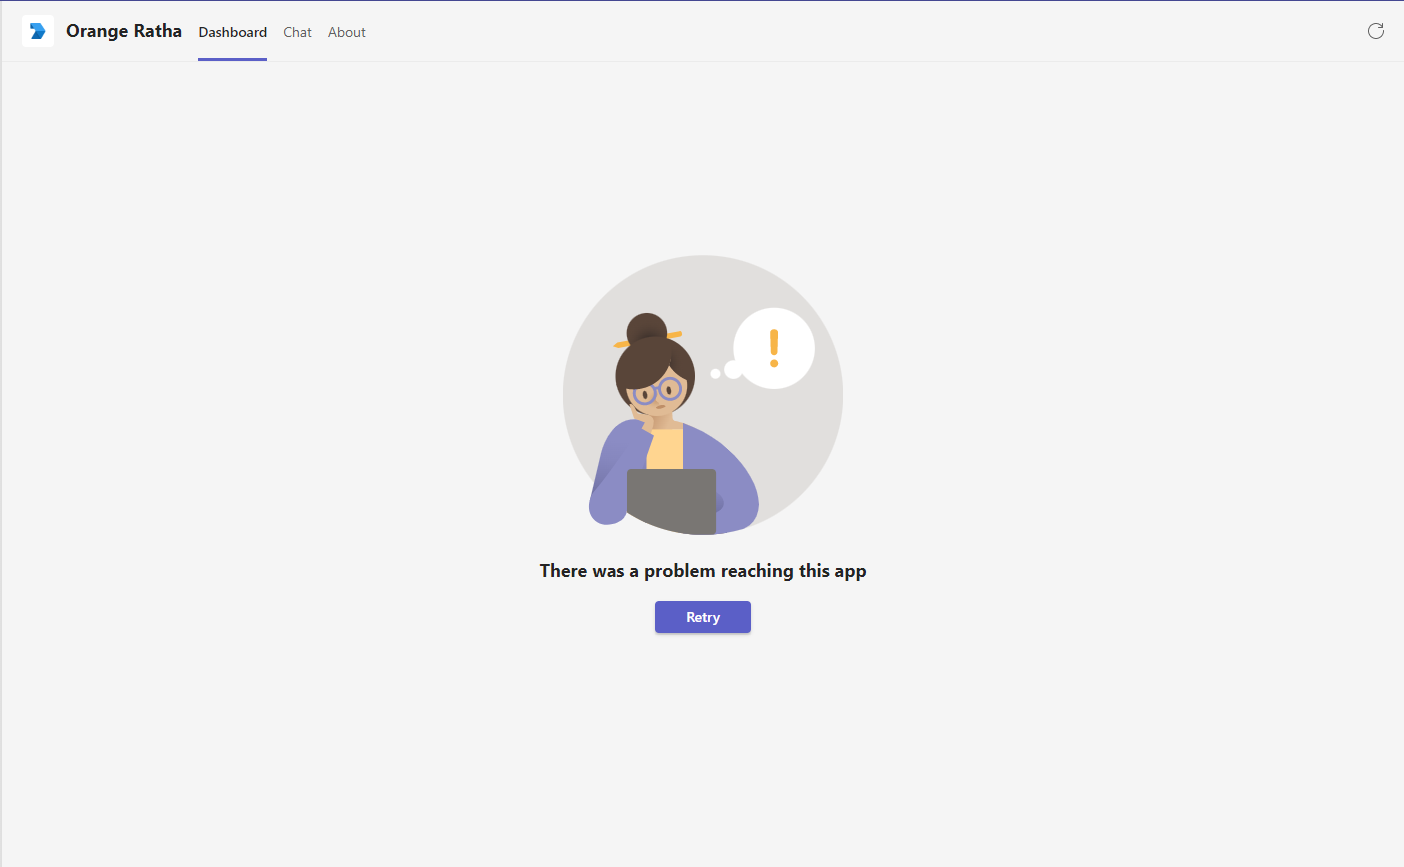
Building a custom Microsoft Teams tab: Show a native loading indicator
Wednesday, 14 September 2022
Partially update documents in Azure Cosmos DB
I have been working with Cosmos DB for a while now and until recently, there was one thing which always annoyed me: When updating a JSON document stored in a container, there was no way to only modify a few selected properties of the document.
The entire JSON document had to be fetched by the client first, then locally replace the properties to be updated, and then send the entire document back to Cosmos DB and replace the previous version of the document.
This was always a challenge because first, it added more work for developers and second, there could be concurrency issues if multiple clients could be downloading multiple copies of the document and updating the data and sending back their copy.
But fortunately, now it's possible to partially update a document in Cosmos DB and basically do a PATCH operation while only sending the properties to be changed over the wire.
So in this post, let's have a look at the different ways in which we can partially update documents in Cosmos DB:
Setting up by creating a Cosmos DB document
First, we will create our sample document using code. I should mention I am using v3.30.1 of Azure Cosmos DB .NET core package from nuget: Microsoft.Azure.Cosmos
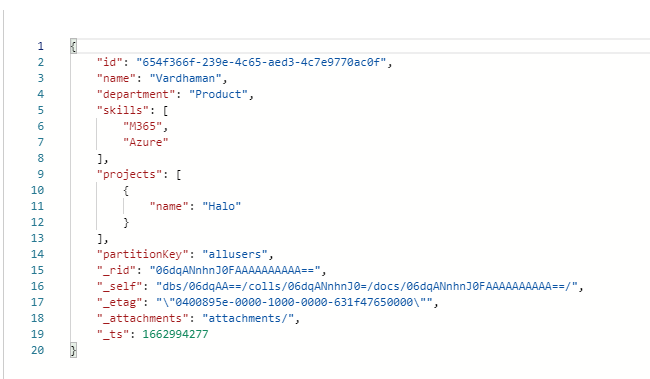
As you can see this is a simple document representing a User object with a few attached properties:
Now in order to only change a few properties in the object, we need to use the Partial document update feature in Azure Cosmos DB
Update document properties
Now lets have a look at how we can modify and add properties to the User object:
In the code, we are updating an existing property of the document as well as adding a new property. Also, we are only sending the properties to be modified over the wire.We can also send both properties in a single operation by adding the operations to the patchOperations array.
Update elements in array
Update objects and their properties
Hope this helps! For more details, do have a look at the Microsoft docs for Azure Cosmos DB partial updates: https://docs.microsoft.com/en-us/azure/cosmos-db/partial-document-update
Monday, 7 February 2022
Working with the Microsoft Graph communications API in a Microsoft Teams meeting app
Following up on my previous post about Microsoft Teams meeting apps, let's now have a look at how we can invoke the Microsoft Graph in our meeting app.
Specifically, we will be using the Microsoft Graph communications API to get all meeting participants.
When I was first looking at this scenario, I thought it would be quite straightforward as this seems to be quite a common use case for meeting apps. However, I was in for a bit of a surprise as that did not turn out to be the case.
My thinking was that I would get a meetingId as part of the Teams JS SDK context object and I would use this meetingId to get details from the Graph. But it turns out that the meetingId which the Teams JS SDK provides is completely different than the meetingId recognised by that Microsoft Graph.
To fetch the meetingId which the Graph recognises, we have to introduce the Bot Framework SDK to the mix and exchange the Teams JS SDK meetingId for the Graph meeting Id.
So let's see how to achieve this using code:
1) Using Teams JS SDK, get user id, meeting id, tenant id
This bit is straightforward, in your Teams tab you can get the meeting context using the Teams JS SDK:
2) Use Bot SDK to get Graph meeting ID from the Teams meeting id
Next, from your Teams Bot, call the /v1/meetings/{meeting-id} API. Couple of things you should know beforehand:
This API is currently in developer preview. This means that it will only work for when the Microsoft Teams Clients have been switched to preview mode.
Secondly, we have to turn on Resource Specific Consent (RSC) for your app and request the required scopes. More details on both points here: https://docs.microsoft.com/en-us/microsoftteams/platform/apps-in-teams-meetings/api-references?tabs=dotnet#get-meeting-details-api
Once you have everything setup, you can call the API to get the meeting details:
The response would contain a details object with an msGraphResourceId property. This will be the meeting id which would work with the Graph API.
3) Use Graph API to get meeting participants from Graph meeting id
Finally, from the msGraphResourceId, we can make a regular call to the Graph to get the meeting details. Specifically, we will call the /onlineMeetings/{meetingId} endpoint: https://docs.microsoft.com/en-us/graph/api/onlinemeeting-get?view=graph-rest-1.0&tabs=http
In this case, we will get the meeting participants:
Make sure you have the correct Delegated or Application permissions granted to the Azure AD app registration you are using for authenticating to the Graph.
This is not an ideal situation as you might not have a requirement for a Bot in your Teams app and might be building a tab for example. In this case, Yannick Reekmans has written a post for you here: https://blog.yannickreekmans.be/get-full-meeting-details-in-a-teams-meetings-app-without-using-bot-sdk/
That's it for now. Hope you find this helpful when exploring meeting apps right now.
Thursday, 13 January 2022
Working with Apps for Microsoft Teams meetings
Microsoft Teams meetings extensions or "Apps for Teams meetings" are the newest entry in the Microsoft Teams extensibility story. They can be used to build custom experiences right into the meeting experience. Meeting participants are able to interact with the custom experiences either before, during or after the meeting. To know more about apps for Teams meetings, a great place to start is the Microsoft docs: https://docs.microsoft.com/en-us/microsoftteams/platform/apps-in-teams-meetings/teams-apps-in-meetings
Pre-meeting and Post-meeting experiences
The pre and post meeting experiences are not too different than what we are used to when building Tabs for Teams. The basic structure remains the same with the only different thing being that the Teams SDK provides the meeting specific APIs when invoked from a meeting app. These APIs can be used to get meeting details like participants and meeting context in our app. More information on the APIs here: https://docs.microsoft.com/en-us/microsoftteams/platform/apps-in-teams-meetings/api-references?tabs=dotnet
In-meeting experiences
When it comes to the In-meeting experiences, there are two main areas: The side panel and the in meeting dialog box (also known as content bubble). The side panel is used to show custom experiences while the meeting is in progress
And the in-meeting dialog box (or content bubble) is used to show content, prompt or collect feedback from the users during the meeting:
I should mention here that the In-meeting experiences only work in the Teams desktop and mobile clients as of now. They don't work in the Teams web browser interface at the time of this writing. To me this is the biggest challenge for using them in production.
1) Configure an Azure Bot and enable Teams Channel
Create a bot in Azure and configure the endpoint which should receive the Teams events:
Next, add the Teams channel so that the bot is able to talk to Microsoft Teams:
2) Update the Teams manifest
For the In-meeting dialog box, we don't have to make any special changes in the manifest. We just need to make sure that since the dialog box will be shown via the bot, our Teams app manifest should have the bot configured as part of it.
3) Create an Azure AD app registration for the app
4) Start the ngrok tunnel and update the code sample:
And in the code sample, update the bot client id and client secret along with the ngrok tunnel url:
5) In meeting dialog code:
The way to bring up an in-meeting dialog is to use the regular Bot Framework turnContext.SendActivityAsync(activity) code but with updated Teams channel data:
You will notice that in the In-meeting dialog url, there is a reference to {_config["BaseUrl"]}/ContentBubble
This means that the contents of the in-meeting dialog have to be hosted in our app. This is good news as that means we have complete control over what is displayed in the dialog. In this code sample, the contents are hosted in an MVC view:
And once everything fits together, we can see the sample code running to show an In-meeting dialog launched in the context of a meeting:
Hope this helps, and thanks for reading!
Thursday, 16 December 2021
Building a Microsoft Teams bot: Sending custom data from an adaptive card button to the bot
This is the third article in my "Building a Microsoft Teams Bot" series. In this series, I have written down some interesting things I came across while creating a Microsoft Teams Bot app which is now available on AppSource: https://appsource.microsoft.com/en-us/product/office/WA200002297
Click here to see the previous articles in the series:
Building a Microsoft Teams Bot: Posting an Adaptive Card carousel as a welcome message
Building a Microsoft Teams Bot: Deep linking to a Teams message from an Adaptive Card button
Todays article is around how to pass custom data from Adaptive Cards back to the Teams bot. This can be useful in scenarios when we want to show multiple options to the user in an Adaptive card and when the user selects an option, we want to send that option back to the bot and perform a relevant operation.
To achieve this, we will use the data property of the Adaptive Card Submit action: https://adaptivecards.io/explorer/Action.Submit.html
To build this type of card in our bot code, we will iterate over the options and create Adaptive card Submit buttons with the relevant values in the data property:
And finally, when the user clicks on a button, Teams platform will send the corresponding data property back to the bot. This can then be used in the Submit action of the bot to perform a relevant operation.
Hope this was helpful!Tuesday, 16 November 2021
Interactively authenticate Microsoft Graph .NET SDK with Azure Identity library
In this post, we will have a look at the new recommended way of using the Azure Identity library to authenticate to the Microsoft Graph .NET SDK. Since v4 of the Microsoft Graph SDK, using the Azure.Identity library is the preferred way to auth with the Graph over the previous Microsoft.Graph.Auth method. You can read more about it here: https://github.com/microsoftgraph/msgraph-sdk-dotnet/blob/dev/docs/upgrade-to-v4.md#azure-identity
Specifically, we will have a look at Interactive browser based authentication where the user would enter their credentials and the Azure Identity library will fetch the access token based on them.
Before going through the code, let us check out the Azure AD App registration which would be used to authenticate to the Graph API
Since we are going to authenticate from a .NET Desktop console application, we will select Desktop as a platform and add the default redirect URIs. In addition, we will also add http://localhost to the list.
The supported account types can be as per your requirements. I have selected the app to be multi tenant.
Select the needed scopes:
Tuesday, 9 November 2021
Building a Microsoft Teams Bot: Deep linking to a Teams message from an Adaptive Card button
This is the second article in my "Building a Microsoft Teams Bot" series. In this series, I am planning to write down some interesting things I came across while creating a Microsoft Teams Bot app which is now available on AppSource: https://appsource.microsoft.com/en-us/product/office/WA200002297
Click here to see the previous article in the series: Building a Microsoft Teams Bot: Posting an Adaptive Card carousel as a welcome message
Todays article is around how to create deep links to teams messages from Adaptive cards. This can be useful in scenarios when you want to send users to a specific Teams chat message when they click on an Adaptive Card button:
Deep links to personal chats are in a different format compared to channel messages.